
I started out with Marvel: Crisis Protocol with a few aims in mind…
- I didn’t want to follow a guide. I aimed to come up with the colour schemes by taking inspiration from all the available Marvel content.
- I wanted to work on my own style. At some point one has to break away from copying what they see in videos and guides, and find their own way.
- I planned to get more from my airbrush there than priming.
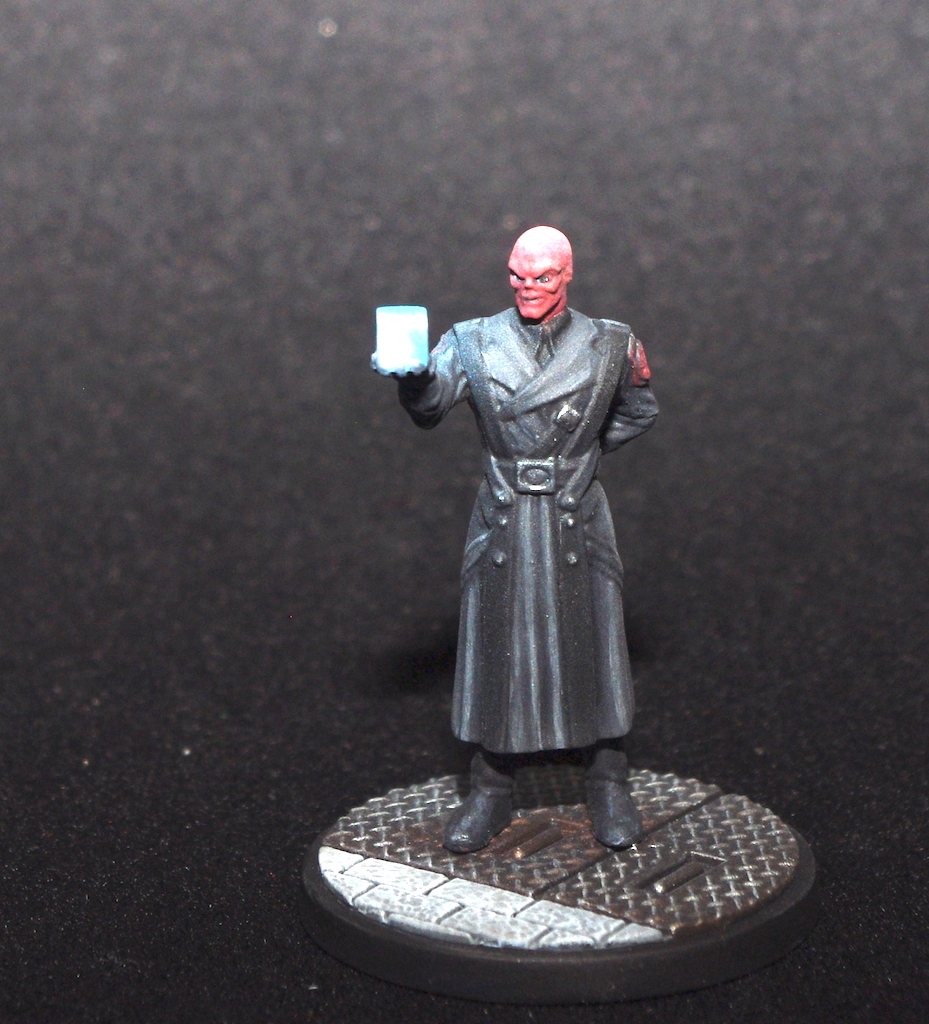
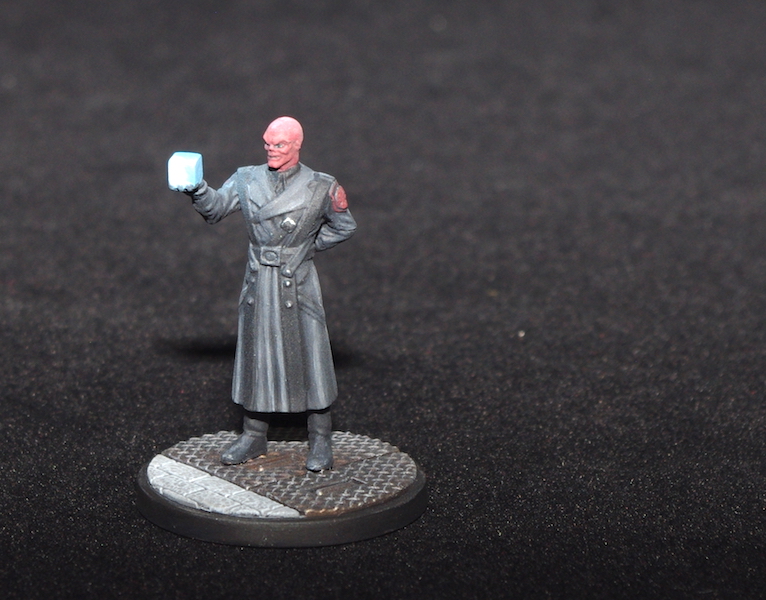
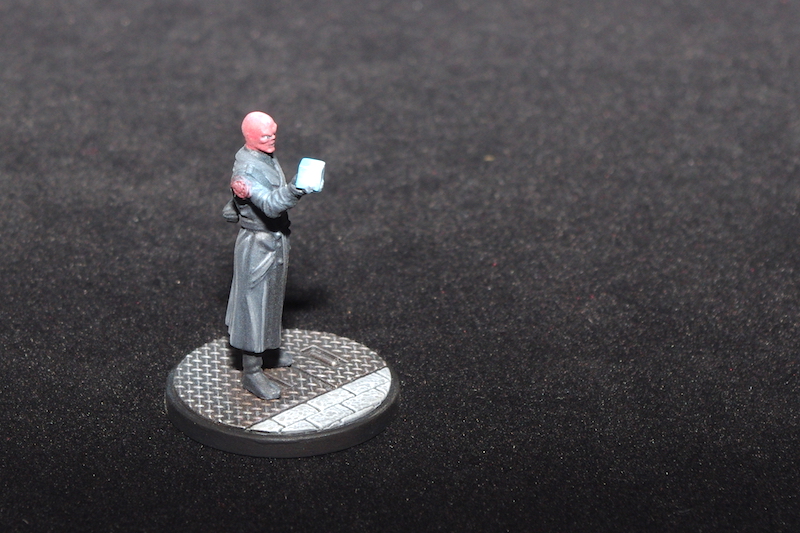
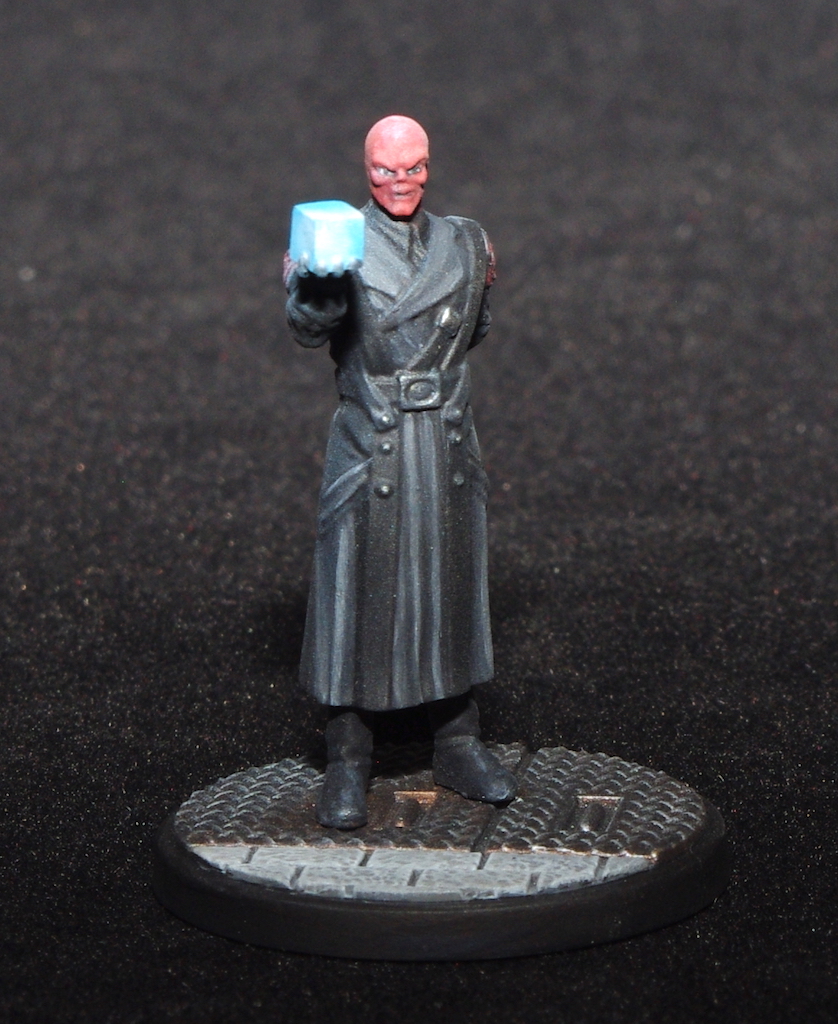
Choosing Red Skull, because along with Black Widow, he was probably the simplest miniature to paint from the set, I started off looking for inspiration.
The card art shows him all in black, and searching the Internet that was certainly the predominant colour, though there are occasions where he appears in a grey uniform. So, I decided to go with the black look.
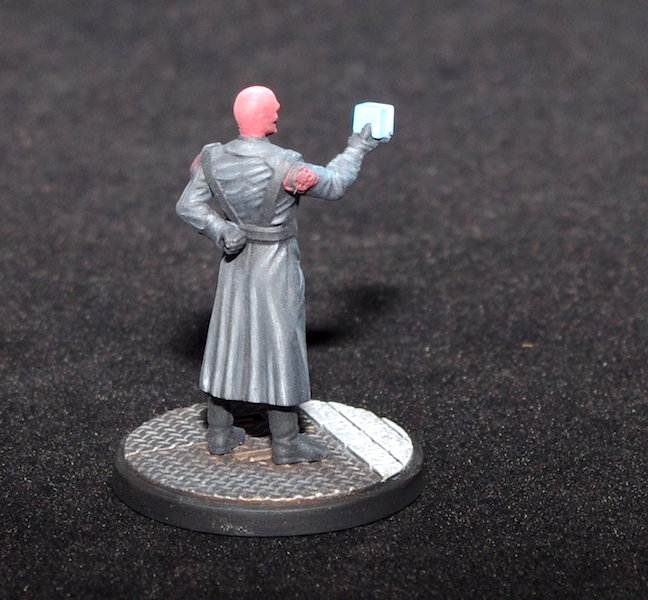
After Zenithal priming, I went with a base of German Grey (VMC) for the greatcoat, Black (VMC) for the shirt, Grey Blue (VMC) with a little Black added for the belt, gloves, and boots, and finally Heavy Red (VGEO) for all the red bits.
He was then washed with Nuln Oil (GW)
The shadows on the uniform were darkened with Black and I then used Pale Grey Blue (VMC) to provide the highlights.
For the highlighting of the skull, I went over with an initial layer of Flat Red (VMC) and then two-brush blended up to Red (VMA), and then to Flat Red + Dead White (VGC), increasing the white as I went.
I enjoyed using this technique, though I found it a little fiddly and I don’t think I pushed it far enough. The skull looks far brighter in the photos than in real life, I think I should have taken it up to pure white at the very top.
The belts were deliberately left pretty much flat Black, as I thought the figure needed something to break it up – I think the Black helps draw the eye down the mini.
The cube was up next and I’d had it in my head well before I started how I was going to do it.
First, a basecoat of Electric Blue (VGC). For then next bit I reached for the airbrush and, using a very thin glaze of the Electric Blue, I carefully sprayed from just above the cube down onto Red Skull, aiming for areas that the cube’s glow would illuminate – I was well pleased with the results 😁.
I then found an old transparent plastic carton, I think it once contained tomatoes, and using a 2mm drill, pierced a hole through it.
I used this to spray through!
Placing it just off the edge of the cube, I gave it a quick burst of Dead White; again, I was well chuffed with the result.
Moving on to the base. For the metalled area I base coated with Tinny Tin (VGC), Drybrushed Gunmetal (VGC), washed with Nuln Oil followed up with another drybrush, but this time Chainmail Silver (VGC). I tried to create a shadowy area beneath him by missing the last drybrush out – it looks better in the photos than it actually is!
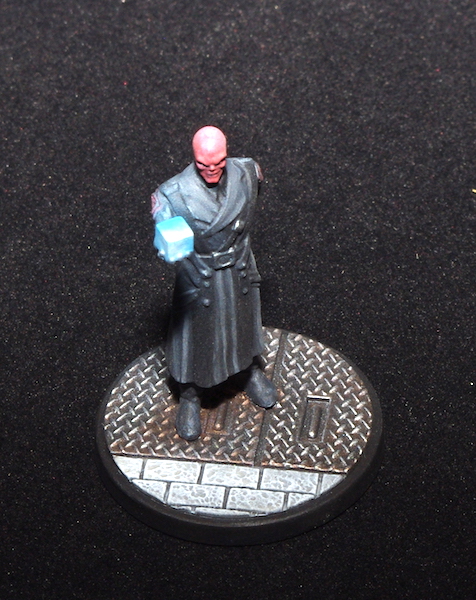
The pavement was based with Cold Grey (VGC) and washed, again with Nuln Oil. The Cold Grey was restored over the flat areas and then drybrushed with Heavy Blue Grey (VGEO). Finally, an edge highlight of Pale Grey Blue was added.
Last thing was to spray him with Vallejo’s Mecha Matt Varnish, and that was Red Skull.
Did I achieve any of my aims?
The colour scheme was pretty basic, but I hadn’t pinched it from anyone else, so I’ve made advancement on that one.
I used my airbrush for more than just priming, and I think the Object Source Lighting worked out okay, so that’s a plus.
Start to develop my own style? Well, I didn’t copy a video guide or anything, so it is all my own work for a change, and I really enjoyed the blending, though I’m still at the bottom of the learning curve there. But what I really wanted to do was explore glazing, and for that I needed help, I needed Iron Man!
Key
- VMC – Vallejo Model Colour
- VGEO – Vallejo Game Extra Opaque
- GW – Games Workshop
- VMA – Vallejo Model Air
- VGC – Vallejo Game Colour

Very nice! 🙂
LikeLiked by 1 person
Thanks John.
LikeLike